
Getting a nice-looking cat portrait is tough. Most shelters don't have an outdoor cat area, so a lot of shelter cat photos tend to be taken in cages. Below are my tips for getting a nice, well-lit cat photo with limited resources, even if you have to take them in a cage. These photos can be taken in pretty much any shelter. I never use a flash or artificial lighting. All you need is one window to light your portrait.
The Basics:
- Try to use a quiet, empty room for photos, preferably with at least one window. It's always better than a cage.
- Always make sure the cat is facing the window. Depending on how the room is set up, the window can even be to the side of the cat. This lights up their face and eyes. If you have to work in a cage, try to get the cat to look towards the closest window.
- Use a large aperture (like f/1.8), especially if the cat is in a cage. This will put a sharp focus on the cat's face, and blur the cage so it doesn't stand out much.
- Have someone dangle a cat toy just above your camera to get the cat to look up and alert. If they don't respond to toys have a helper pet/scratch the cat and take their hand away right when you're ready to snap the photo. I'll usually count to three so they know when to move their hand, and they should always move their hand above the camera. This usually gets a nice alert expression with the cat looking up towards the hand (and your camera). You can also use a crinkly bag or the sound of a can of food opening to get their attention. The important thing is to coordinate this action with the camera snap so you're ready to get the picture.
- If the cat is nervous about being out of their cage, try a heating pad. Put it under a nice-looking blanket for pictures. If you don't have a heating pad handy, throw your blanket/backdrop in a dryer to warm it up and make it inviting for the cat to lay on. I rarely have a cat that doesn't respond to a nice warm spot to snuggle in.
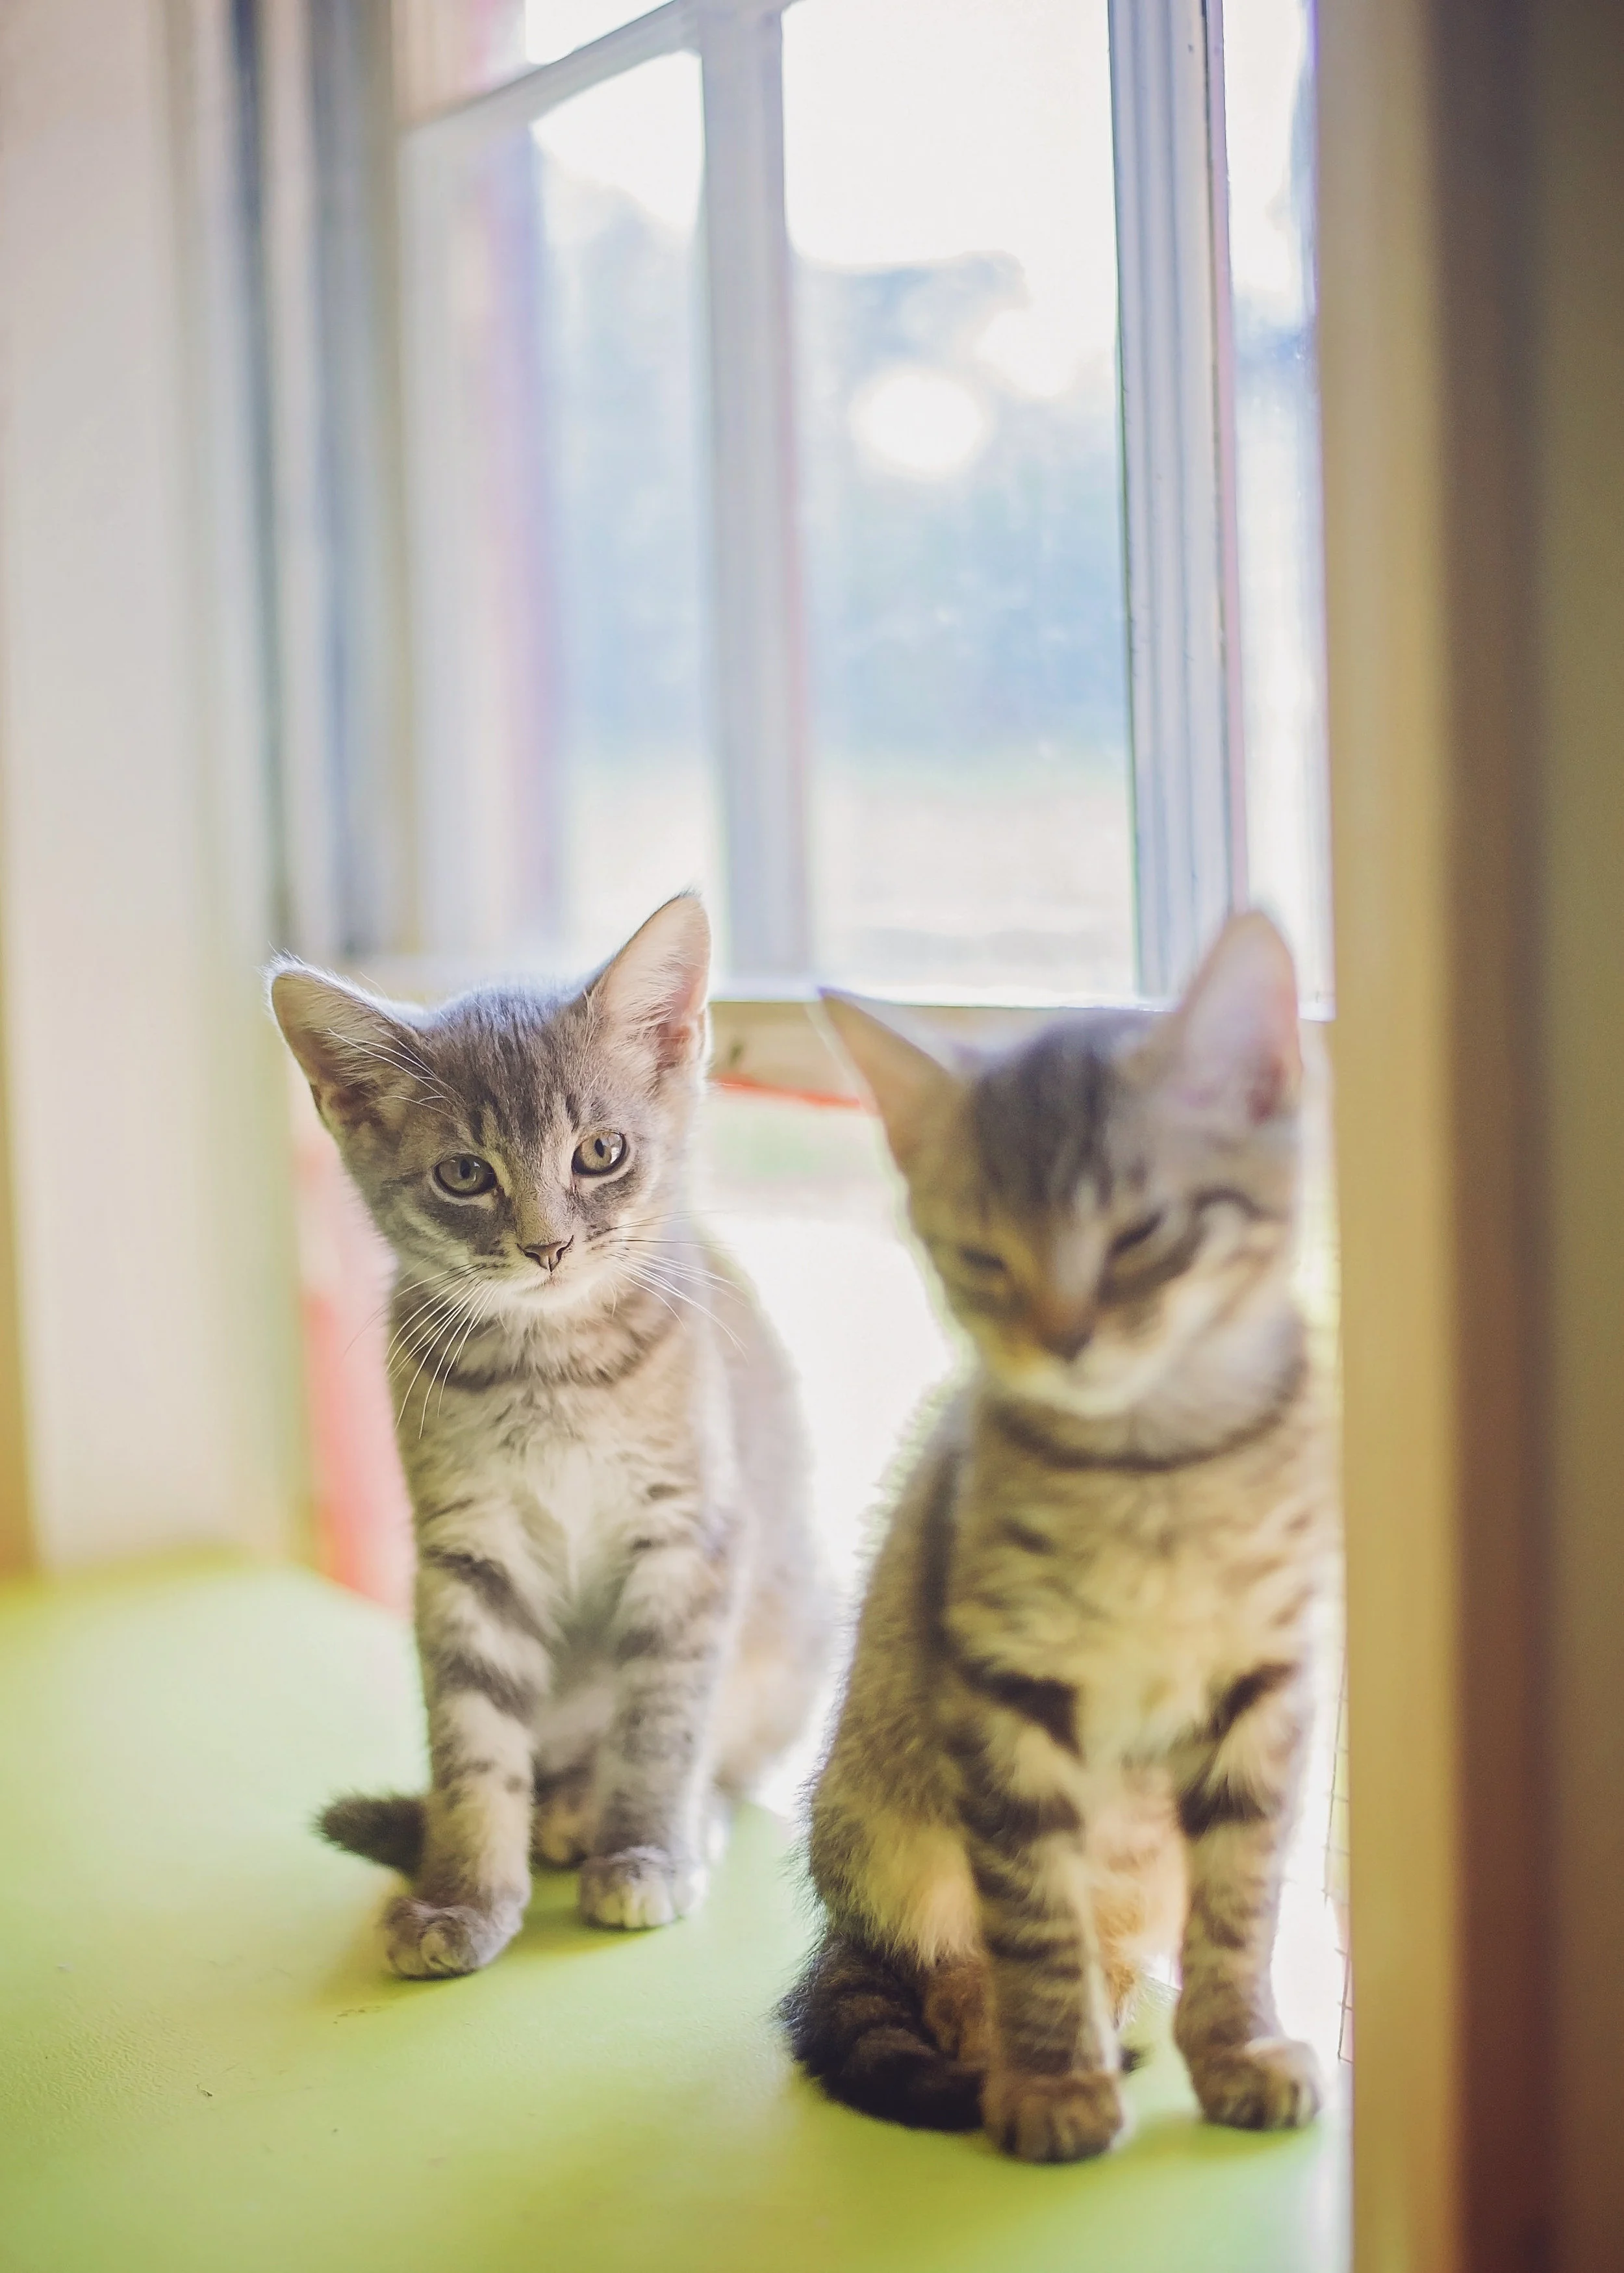
The way this room is set up, it's hard to have the cats face the window. But it has these little ledges right by the window. So having the window beside them works okay. You can see some catchlights in his eyes, making them stand out. It's always preferable to have them facing the light, when possible. I had to lighten his face a bit in Photoshop. His buddy was sitting in the shot, but it makes for a nice composition.

This kitten was following me around and begging for attention. He was sitting at my feet, so I just pointed the camera down and snapped when he meowed. The angle also shows how tiny he is. Since he was already focused on watching me, I just moved so that he turned his head towards the window (see the light in his eyes?) and then took the picture.

With a room like this, all the cats are loose and just lounging on various pieces of furniture. This kitty stood up as I walked over, and since he was already facing the window, I just snapped a quick picture. Less than 10 seconds and we're done. Always be ready to snap the picture. I adjusted my camera settings before walking over, since I figured he'd probably stand up as I got closer.

This is an example of a cage picture. Unfortunately, the window in this room is behind the cages, so it's really not set up for good photos. But I used a very high ISO setting on my camera to allow more light onto the camera sensor so the photo isn't dark. It does make the picture a bit grainy, but it's still a good shot for an adoption photo. The one good thing about taking photos in the cage is that the cat will usually stand up and look alert just because you opened the door.

Another cat room shot. These ledges were beside the window, and you can see that the cat looking outside. He was already sitting here. No need to move him or bother him. I might've had someone get his attention towards the window, but that's it.

This kitty was not happy about pictures. I put a heating pad under the blanket to help her relax, and my helper kept hands on her to help her feel secure. You can see her hands in the photo, but they're blurred into the background because this was shot at f/1.8. I don't blur anything in photoshop. This is all done in-camera I recommend using the lowest number your lens will allow. This is something you can easily learn in a day and it makes a huge difference when photographing animals.
Learning to shoot in Manual mode is so important, especially when taking pictures of cats and dogs. In shelters, you don't always have the option of choosing a great location for photo sessions. You have to work with what they have, and the ability to quickly change your camera settings to fit the situation is essential. If you can spend a day to learn f-stop, ISO, shutter speed, and how to use them together, you'll see a huge difference in the quality of your photos. I'll try to cover these in a future post!