
This post is a quick guide to taking shelter dog portraits. In future posts, I'll go into more detail with some of these tips and troubleshoot common problems. If you have a specific question you'd like me to cover, just email me!
I usually take photos of around 20 dogs in a photo session at the Humane Society of Northeast Georgia. I try to keep the whole session to under 2 hours, so I only have a few minutes per dog to get a couple of good photos. I always shoot in natural light, preferably outside. If I take photos indoors, I position the dog facing a window for lighting.
Basic steps are as follows. Below this, I'll go into greater detail:
- Give the dog a few seconds to settle. Let your helper(s) pet and reassure the dog so they can relax a bit. You can let them sniff your camera.
- Position the dog with their back to the trees, wall, bushes, etc. and face towards the open sky. If it's sunny, work in a solid shady area to avoid spotty shade spots on the dog.
- Have a helper get the dog in a sitting position and hold the leash taut (but not pulling on the neck).
- Have a second helper stand behind you and squeak a toy once when everyone is ready. Or you can do this yourself with your free hand. If the dog is scared of squeaks, you can shake a treat box or crinkle a bag.
- When the dog perks up in response to the squeak, snap the picture.
Here are some tips for getting the most out of your portraits:
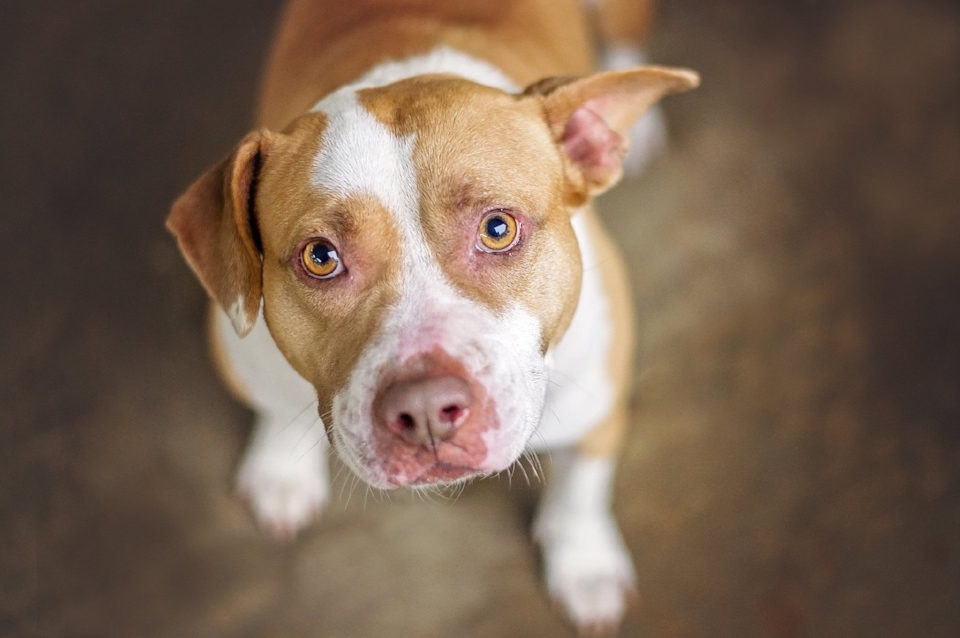
Use a large aperture. I use a cheap "nifty fifty" prime lens. I shoot at f/1.8 to get a sharp focus on the dog's face and a nice, pretty, blurred background. This is also great for bully breeds to really focus on their eyes and make them look soft and approachable. This picture was taken on a cold rainy day in a breezeway at a shelter. The large aperture makes low light photography a breeze. This requires shooting in manual mode, but it's very easy to learn.

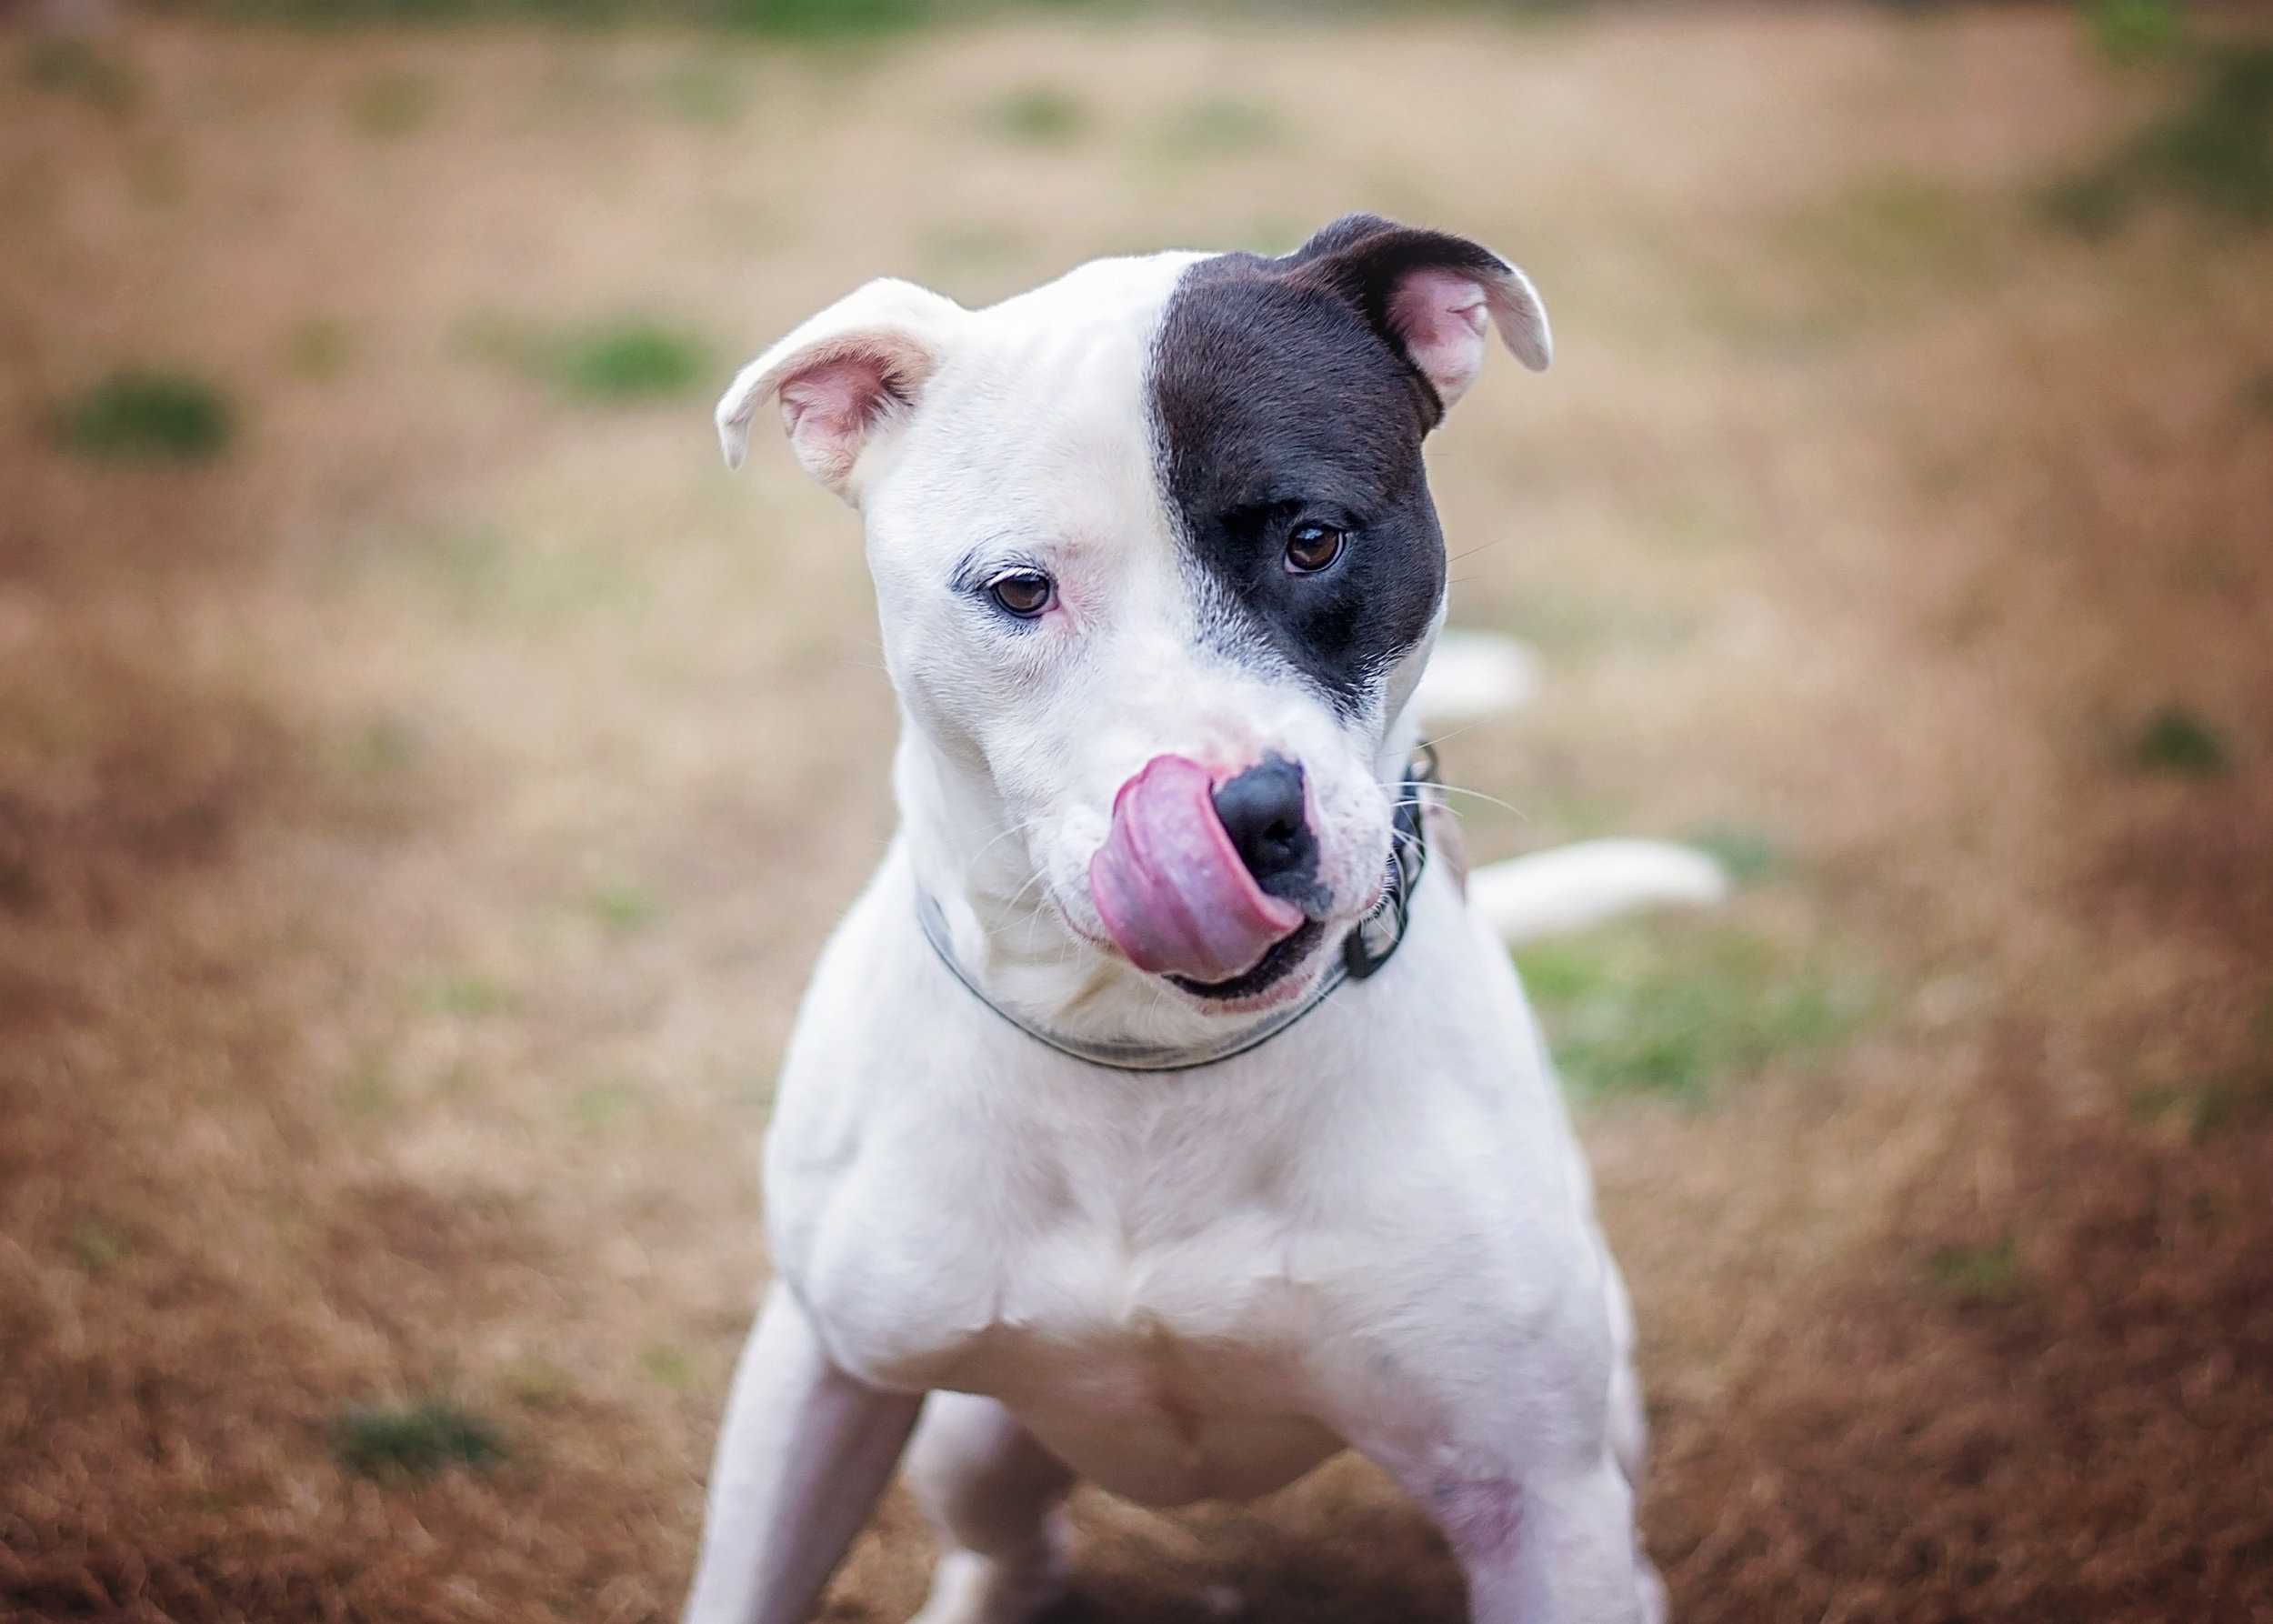
Set your camera to burst mode. Taking a bunch of shots in one click is essential since dogs move fast and change expressions even faster. I took 5 quick photos of this dog and managed to get this great "smile" in there. I don't believe in "spray and pray" shooting where you just take a bunch at once and hope for the best. Always set up your shot and then take a burst of several photos in case the dog blinks or makes a weird face. You should get at least one "good" face in the mix that way.
Fast shutter speed. This is necessary to avoid blur with wiggly dogs. I try to use a shutter speed of 400 or faster.

Pretty backdrop. Colorful, vibrant backdrops are eye-catching when scrolling through social media. A nice backdrop will help get a dog noticed. I like to use thrift store quilts

Ask for help. Sure, you can take pictures by yourself, but it's very difficult. I like to have two helpers, usually volunteers or staff at the shelter. One person holds the dog and the other stands behind me to get the dog's attention. Also, if your dog doesn't want to cooperate for a "standard" portrait, your helpers can be included in the photo for a unique shot like this. What dog doesn't cooperate for a good belly scratch? For a standard photo, one person will hold the dog, and another will stand behind me to use treats or toys to get the dog's attention. Don't oversqueak toys. Wait until everyone is ready and have your helper squeak a toy one good time to get an alert expression from the dog. I try to bring things that make different noises. If the dog doesn't respond to squeaks, they might perk up for a crinkly plastic, shaking a treat box, or having your helper make crazy noises with their own voice.
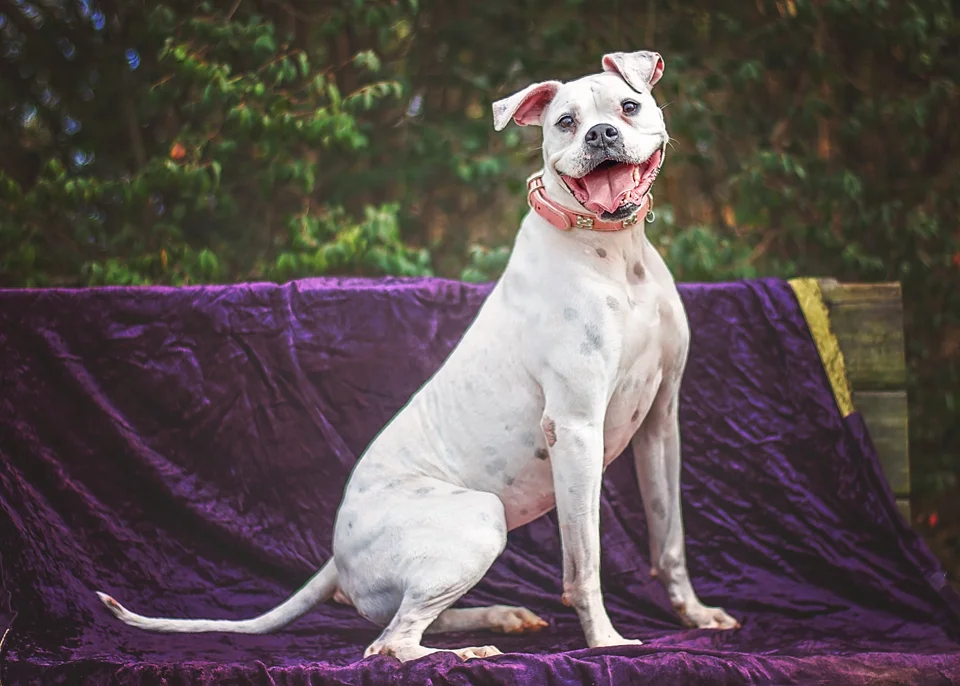
Wait for happy faces! Especially with bully breeds, you ideally want an open mouth, ears up, and relaxed posture. Most dogs are tense right at the beginning of picture time. Give them a few seconds to relax, have your helpers scratch them, play, or give them treats (this just depends on the dog.) It usually only takes a couple of minutes for them to have an open, panting ("smiling") mouth. Sometimes that just isn't possible. The dog might be afraid of the camera, or it may be too cold for the dog to pant. In that case, I try to take the picture from above so the dog is looking up at the camera and the focus is on their eyes. This angle makes them look more approachable and friendly. Or I just try to wait for a soft, calm expression (see next pic.) Always position their face towards the light to get catchlights in their eyes.

Remove leashes and other distracting objects in Photoshop. I always try to have dogs leashed for photos. It helps keep them in place and focused. And if we're in an open area, it's absolutely necessary for safety. I have someone hold the leash up and tight, but not so tight that it pulls on the neck. It's easy to edit out in Photoshop. The same applies for hands, and any other distractions in the photo. Of course we want the focus on the dog's face and not on leashes or anything else. Also, notice the positioning of this dog. I have his back towards the trees and his head facing the open sky. This allows for catchlights in his eyes so they stand out in the photo.
